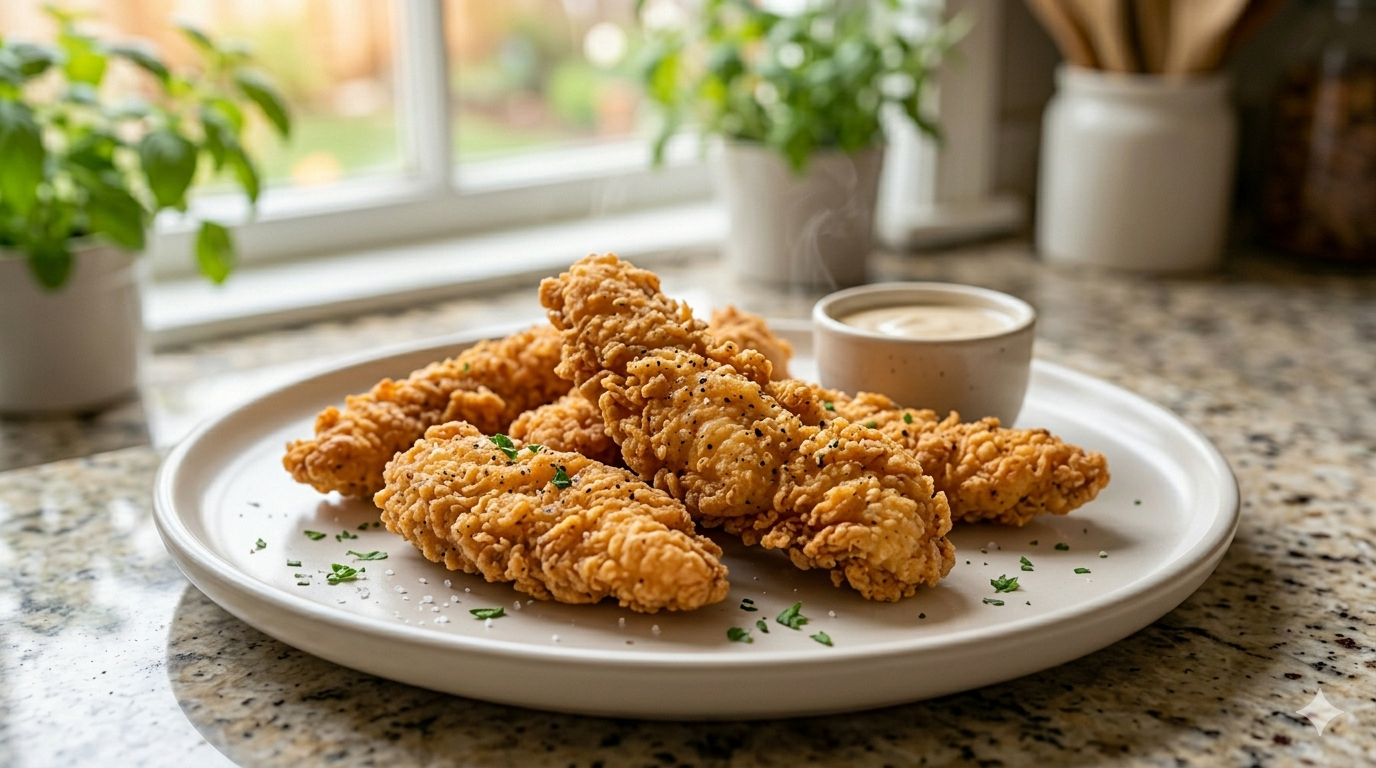
If you’ve ever wanted to learn a simple fried chicken strips recipe that delivers crispy, golden, and juicy results every single time, you’re in the right place. Chicken strips are one of the most popular comfort foods around the world, loved for their crunchy texture, rich flavor, and versatility. Whether you’re cooking for yourself, your family, or guests, mastering this recipe will instantly upgrade your home cooking skills.
In this complete guide, you’ll not only learn how to make perfect fried chicken strips, but also understand the techniques behind achieving that irresistible crunch and flavor. Even if you’re a beginner, this step-by-step approach will make the process easy and enjoyable.
What Are Fried Chicken Strips?
Fried chicken strips are pieces of chicken breast cut into long, thin strips, coated in seasoned flour or batter, and deep-fried until crispy. They are sometimes called chicken tenders or chicken fingers, and they’re often served with dipping sauces, fries, or salads.
What makes them so popular is their simplicity. With just a few ingredients and the right method, you can create a dish that rivals restaurant-quality meals at home.
Why You Should Learn This Recipe
There are many reasons why this fried chicken strips recipe deserves a place in your kitchen:
First, it’s incredibly easy to make. You don’t need advanced cooking skills or special equipment. Everything can be done using basic kitchen tools.
Second, it’s fast. You can prepare and cook the entire dish in under 30 minutes, making it perfect for busy days.
Third, it’s budget-friendly. Chicken breast is widely available and affordable, and the rest of the ingredients are pantry staples.
Finally, it’s versatile. You can serve chicken strips as a main dish, snack, or even use them in sandwiches and wraps.
Ingredients You’ll Need
To learn a simple fried chicken strips recipe, start with these basic ingredients:
- 500g chicken breast (cut into strips)
- 1 cup all-purpose flour
- 1/2 cup cornstarch
- 2 eggs
- 1 cup milk or buttermilk
- 1 teaspoon salt
- 1 teaspoon black pepper
- 1 teaspoon paprika
- 1/2 teaspoon garlic powder
- Oil for frying
These ingredients work together to create the perfect balance of flavor and texture. The cornstarch helps achieve extra crispiness, while the buttermilk adds tenderness and depth.
Step-by-Step Guide for a Fried Chicken Strips Recipe
Step 1: Prepare the Chicken
Start by cutting your chicken breast into evenly sized strips. This ensures that all pieces cook at the same rate. Try to keep them similar in thickness to avoid overcooking or undercooking.
Step 2: Make the Marinade
In a bowl, mix the eggs with milk or buttermilk. Add the chicken strips and let them soak for at least 10–15 minutes. This step is essential because it helps tenderize the chicken and allows the coating to stick better.
Step 3: Prepare the Coating
In another bowl, combine the flour, cornstarch, salt, pepper, paprika, and garlic powder. Mix well to distribute the seasoning evenly.
Step 4: Coat the Chicken
Take each chicken strip from the marinade and coat it thoroughly in the flour mixture. Press gently to ensure the coating sticks well. For extra crispiness, you can dip the chicken back into the wet mixture and coat it again.
Step 5: Heat the Oil
Pour oil into a deep pan and heat it over medium heat. The oil should be hot but not smoking. If the oil is too cold, the chicken will absorb too much oil. If it’s too hot, the outside will burn before the inside cooks.
Step 6: Fry the Chicken
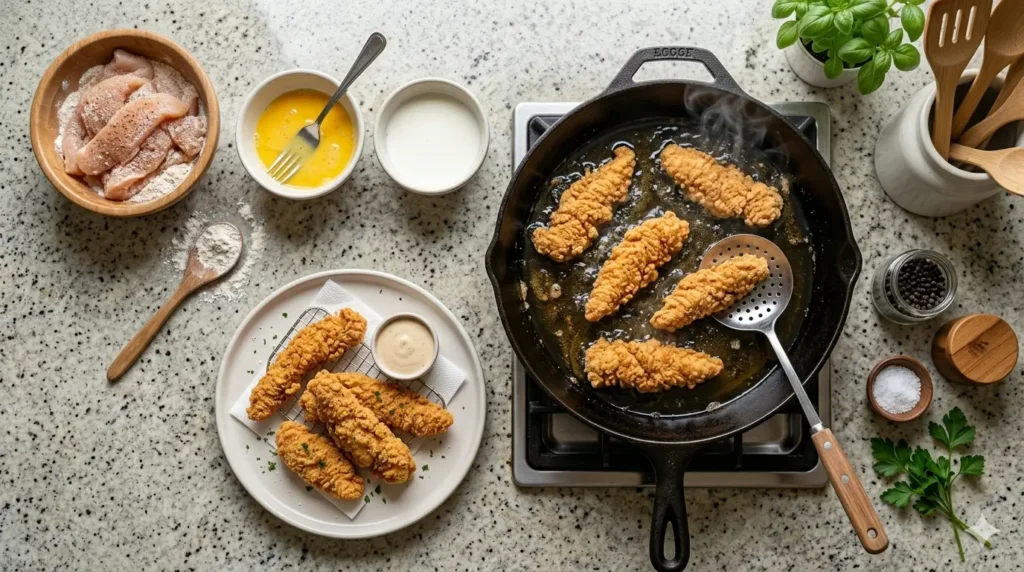
Carefully place the coated chicken strips into the hot oil. Fry for about 4–5 minutes on each side, or until they turn golden brown and crispy.
Avoid overcrowding the pan, as this can lower the oil temperature and affect the texture.
Step 7: Drain and Serve
Once cooked, remove the chicken strips and place them on paper towels to drain excess oil. Serve immediately while hot and crispy.
Ingredients
- 500g chicken breast, cut into even strips
- 1 cup all-purpose flour
- 1/2 cup cornstarch
- 2 eggs
- 1 cup buttermilk (or regular milk)
- 1 teaspoon salt
- 1 teaspoon black pepper
- 1 teaspoon smoked paprika
- 1/2 teaspoon garlic powder
- Oil for deep frying (vegetable or sunflower oil)
Instructions
Step 1: Cut the chicken breasts into evenly sized strips, aiming for similar thickness so they all cook at the same rate. Pat them dry with paper towels.
Step 2: In a bowl, whisk together the eggs and buttermilk until fully combined. Add the chicken strips, making sure every piece is submerged. Let them soak for 10 to 15 minutes — this tenderizes the chicken and helps the coating stick.
Step 3: In a separate bowl, combine the flour, cornstarch, salt, black pepper, smoked paprika, and garlic powder. Whisk together until evenly mixed. The cornstarch is key to achieving an extra crispy crust.
Step 4: Remove each chicken strip from the buttermilk mixture and let the excess drip off. Coat thoroughly in the flour mixture, pressing gently to make sure the coating sticks to every surface. For an even crispier result, dip back into the buttermilk and coat in the flour mixture a second time.
Step 5: Let the coated chicken strips rest on a wire rack or plate for 5 minutes before frying. This helps the coating adhere and prevents it from falling off in the oil.
Step 6: Pour enough oil into a deep pan to submerge the chicken strips — at least 5 to 6 cm deep. Heat the oil over medium heat to 175°C (350°F). Use a thermometer if possible — too cold and the chicken absorbs oil, too hot and the outside burns before the inside cooks.
Step 7: Fry the chicken strips in batches — never overcrowd the pan. Cook for 4 to 5 minutes per side until deep golden brown and crispy. The internal temperature must reach 74°C (165°F).
Step 8: Remove the cooked strips and place on a wire rack or paper towels to drain excess oil. A wire rack keeps them crispier than paper towels alone.
Step 9: Serve immediately while hot with your choice of dipping sauces — honey mustard, garlic mayo, ketchup, or BBQ sauce all work beautifully.
Notes
Buttermilk gives significantly better results than regular milk — it tenderizes the chicken and adds a subtle tang that enhances the flavor. Double coating (dip twice in wet mixture and flour) creates a thicker, restaurant-style crust. Let the coated strips rest for 5 minutes before frying — this is the step most people skip and it makes a real difference to how well the coating holds. Maintain a consistent oil temperature of 175°C (350°F) throughout cooking — use a thermometer for best results. Always fry in batches — overcrowding drops the oil temperature and makes the coating soggy instead of crispy. A wire rack under the cooked strips keeps them crispier than placing them flat on paper towels. To reheat leftovers, use an air fryer at 180°C for 4 to 5 minutes — never microwave as it destroys the crispy coating. For a healthier version, bake at 220°C (425°F) for 18 to 20 minutes, flipping halfway — or air fry at 200°C for 12 to 14 minutes. Leftovers keep in the fridge for up to 3 days in an airtight container.
Tips for Perfect Fried Chicken Strips
Getting the perfect result every time comes down to a few key tips:
Maintaining the right oil temperature is crucial. Try to keep it consistent throughout the cooking process.
Using buttermilk instead of regular milk adds extra tenderness and flavor.
Double coating the chicken creates a thicker, crunchier crust.
Letting the coated chicken rest for a few minutes before frying helps the coating stick better.
Always fry in batches to avoid overcrowding and uneven cooking.
Common Mistakes to Avoid
Even simple recipes can go wrong if you’re not careful. Here are some mistakes to watch out for:
Skipping the marinade can result in dry chicken.
Using oil that is too hot or too cold will affect both texture and flavor.
Not seasoning the flour properly can lead to bland chicken.
Overcrowding the pan can make the chicken soggy instead of crispy.
Serving Ideas
One of the best things about fried chicken strips is how versatile they are.
You can serve them with classic sides like fries, mashed potatoes, or coleslaw. They also pair well with fresh salads for a lighter option.
For a fun twist, use them in wraps or sandwiches with lettuce, tomatoes, and your favorite sauce.
They’re also perfect as a snack or appetizer when served with a variety of dipping sauces.
Best Dipping Sauces
To enhance your fried chicken strips, try serving them with different sauces:
Ketchup is a classic and simple choice.
Garlic mayo adds a creamy and rich flavor.
Honey mustard provides a sweet and tangy balance.
Barbecue sauce adds a smoky taste.
You can even mix your own sauces to create unique flavors.
How to Store and Reheat
If you have leftovers, store them in an airtight container in the refrigerator for up to 3 days.
To reheat, avoid using a microwave as it can make the chicken soggy. Instead, use an oven or air fryer to bring back the crispiness.
Healthier Alternatives
If you want a lighter version of this fried chicken strips recipe, you can bake or air fry the chicken instead of deep frying.
Baking at a high temperature can still give you a crispy texture with less oil. Air fryers are another great option for reducing fat while keeping the crunch.
Final Thoughts
Learning a simple fried chicken strips recipe is one of the best ways to improve your cooking skills while creating a dish that everyone loves. With just a few ingredients and the right technique, you can achieve crispy, flavorful chicken strips that rival any restaurant.
The key is to practice, experiment with flavors, and enjoy the process. Once you master this recipe, you’ll find yourself making it again and again for different occasions.